不過一子沒時間po~
剛好利用這段連續假期
圖多(都是手機拍的就是了
直接看圖吧~

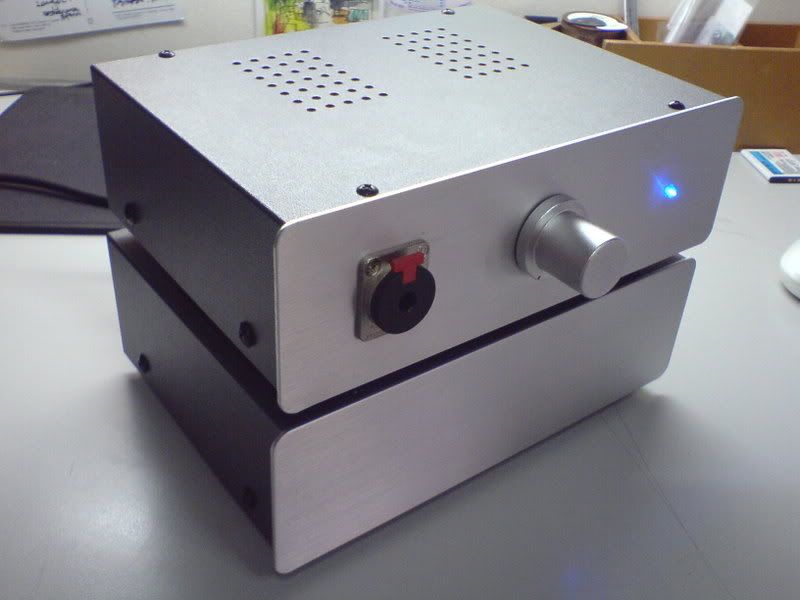
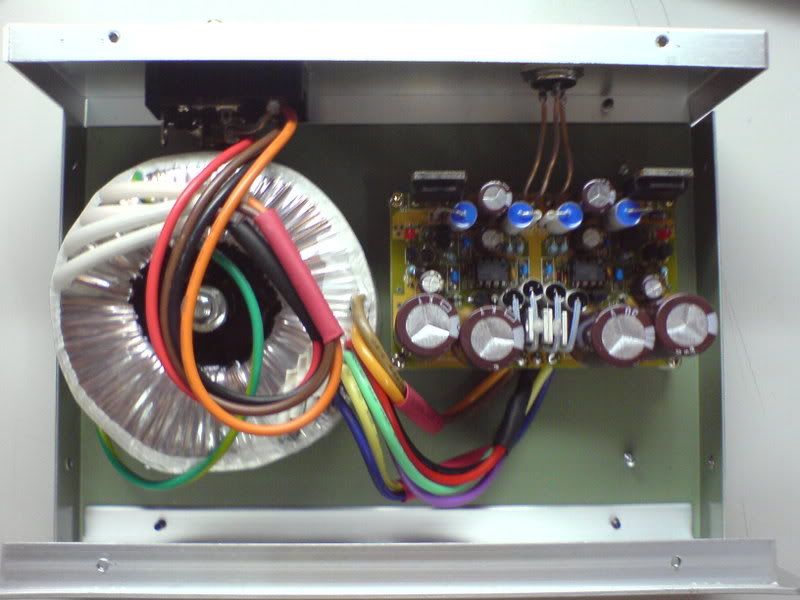
外型就參考之前的ra-1 覺得還不錯 就繼續沿用了
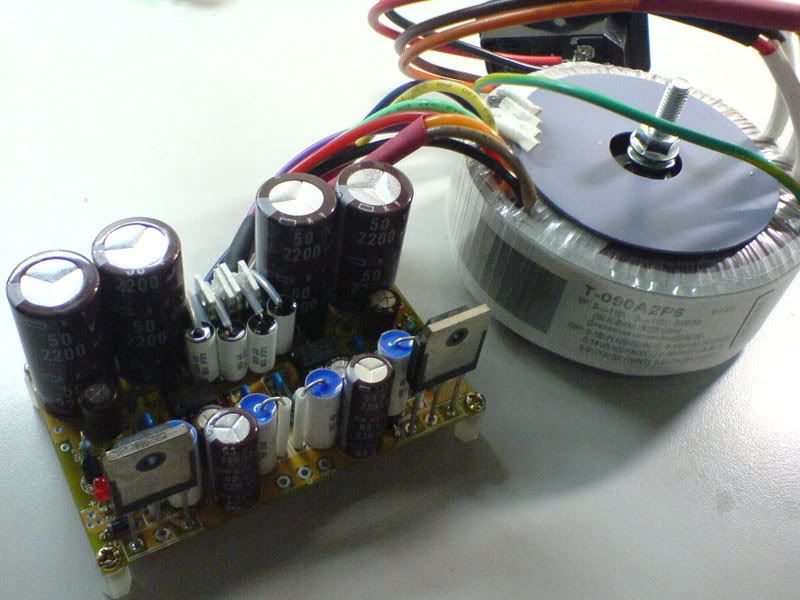
這次主要小玩了電源分離...
純粹是為了爽度 以及偷懶...
模組化...以後若是做其他耳擴 可以偷懶電源部分
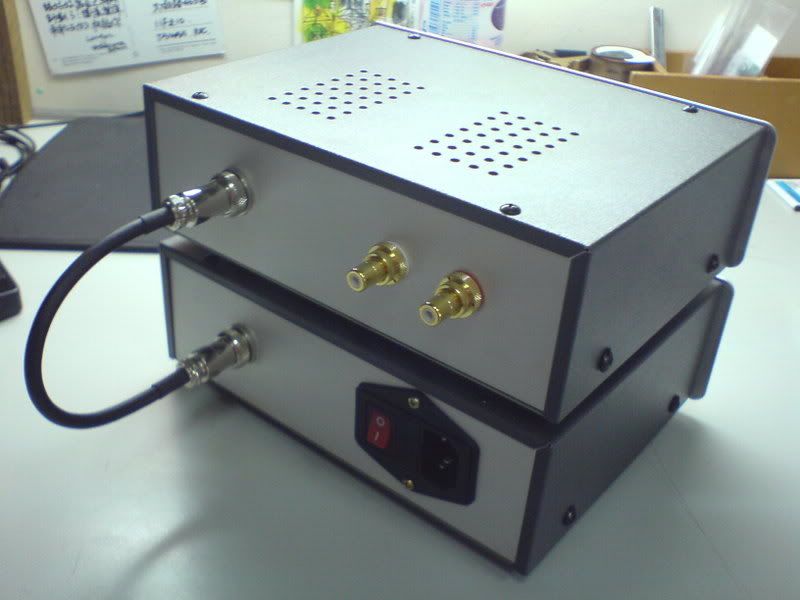
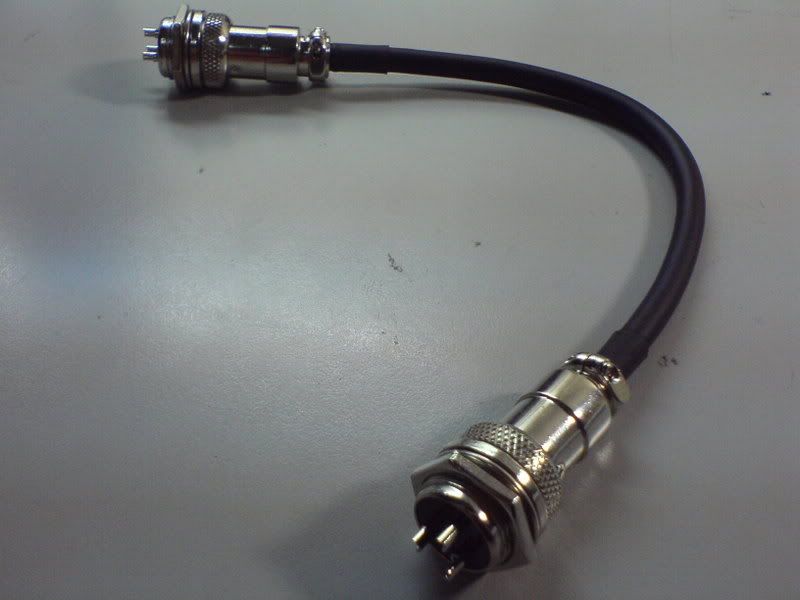
電源連接線是學neo的拿mogani2549
主要不知道有什麼便宜好用的三股電源線
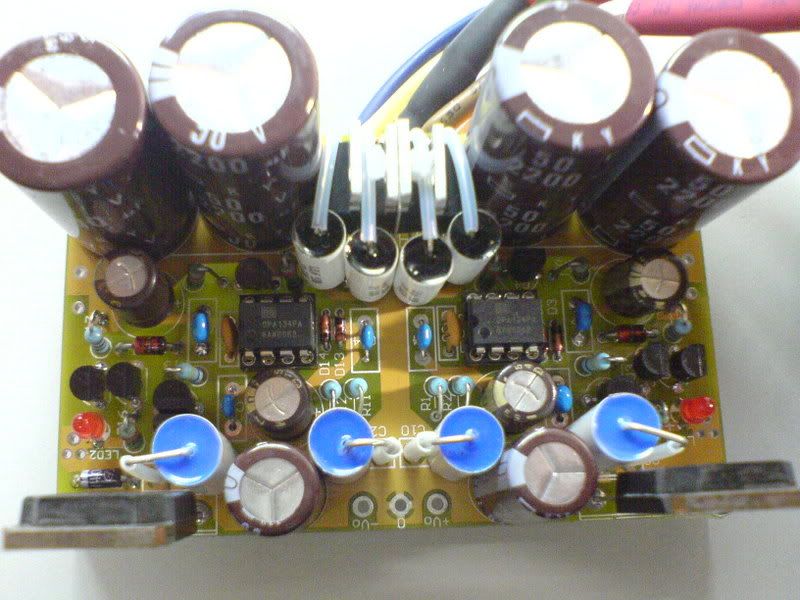
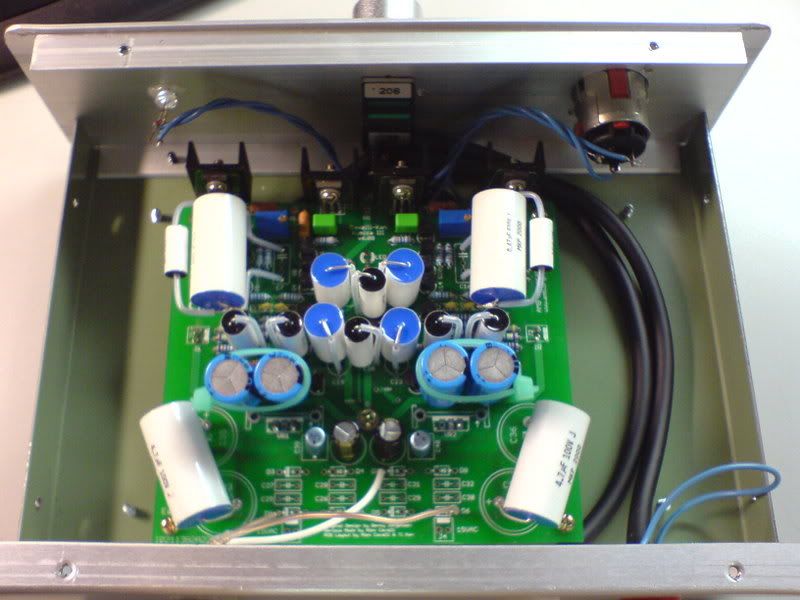
音量方面 沒規劃好塞不下alps 的
就拿東京光的上去了~!
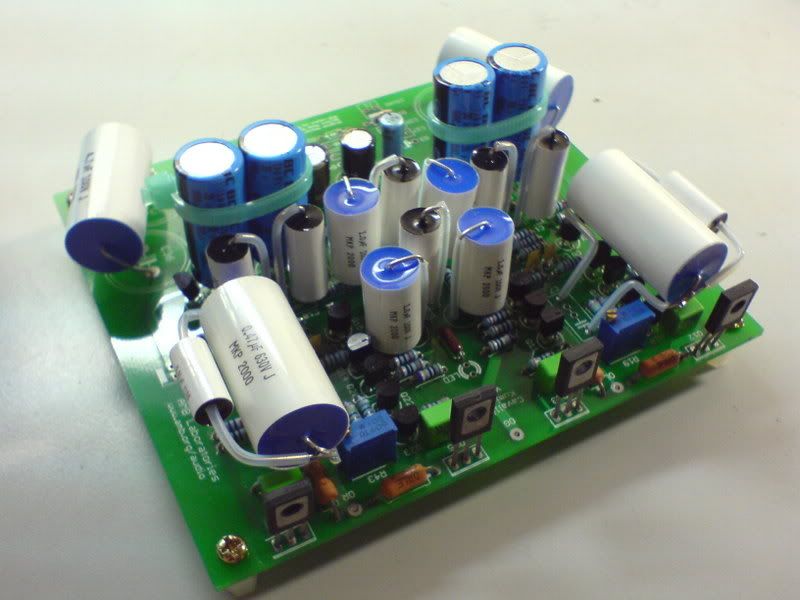
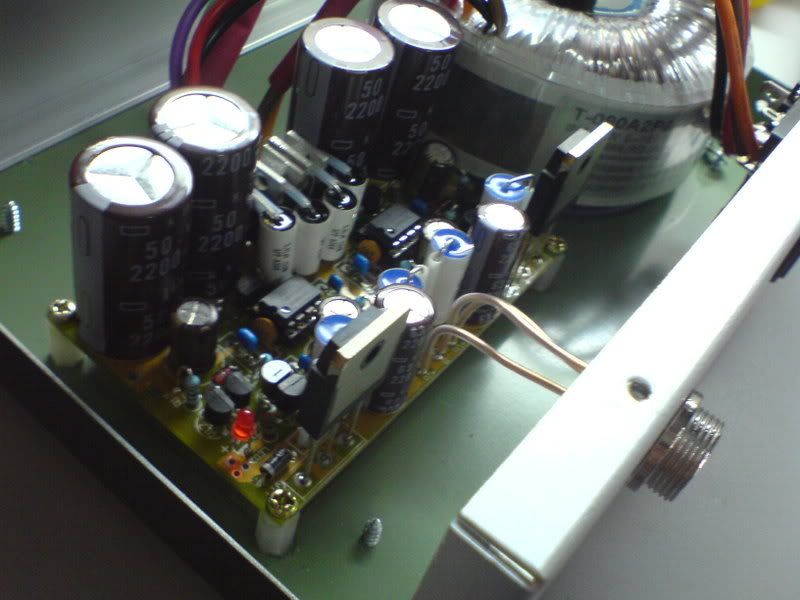
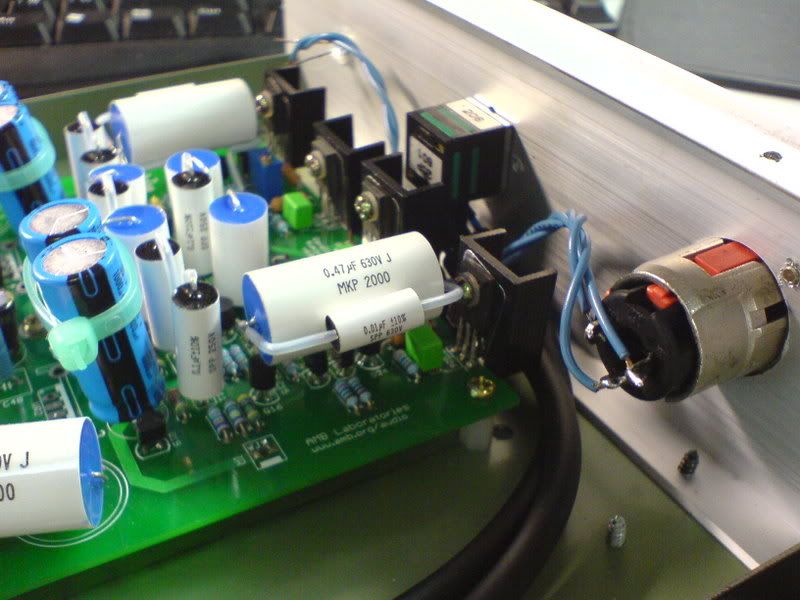
其他用料就如圖片上的吧 沒有很特別
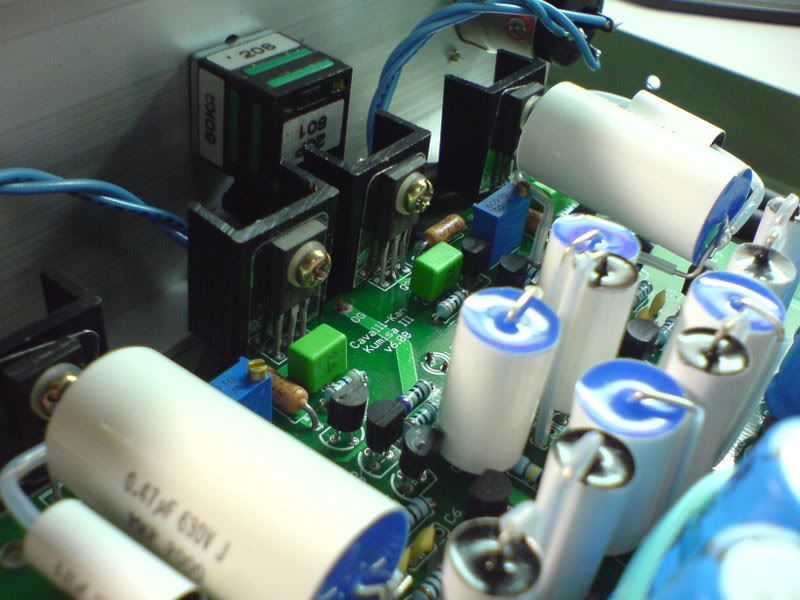
主要就 ucc電容 0.47電容旁加併0.01
飛利浦0.1%+1%電阻
0.47輸出電阻是用VISHAY DALE的
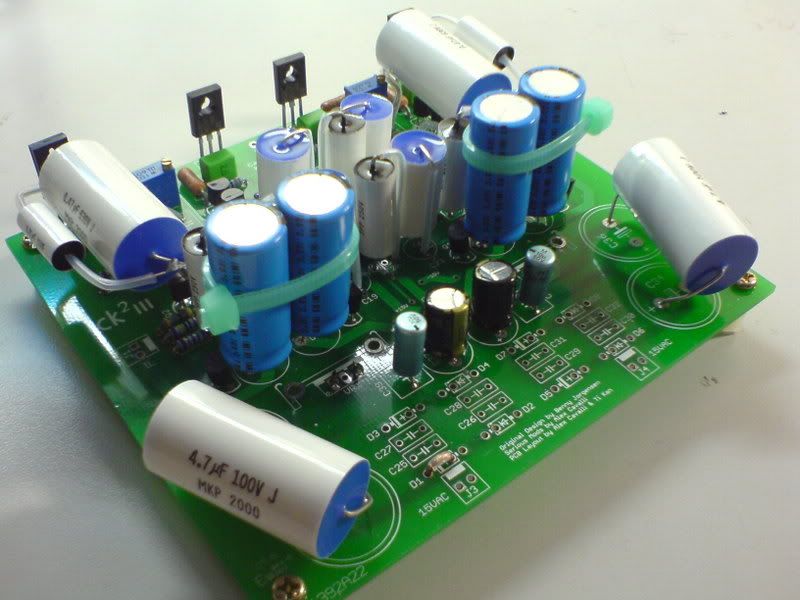
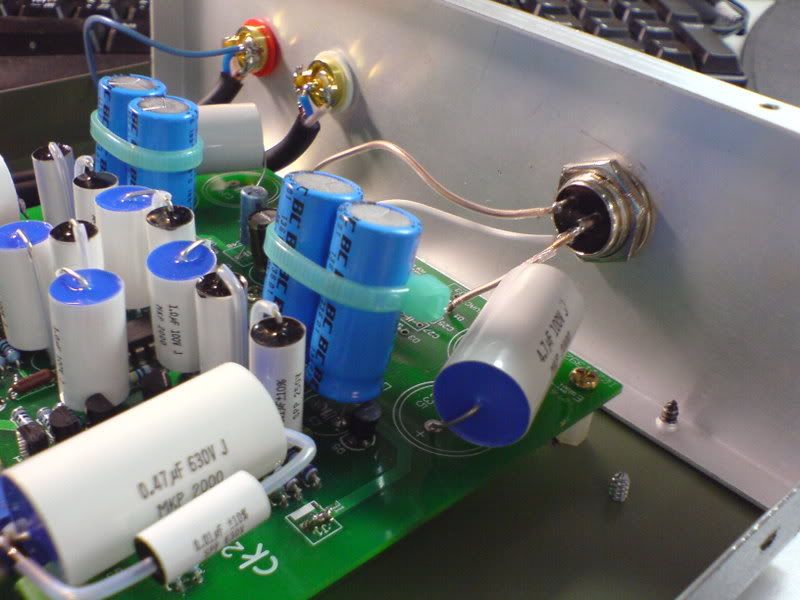
省去主板上的電源 採用ucc穩壓
不過有在主板電源輸入上加併10u 100u 4.7u
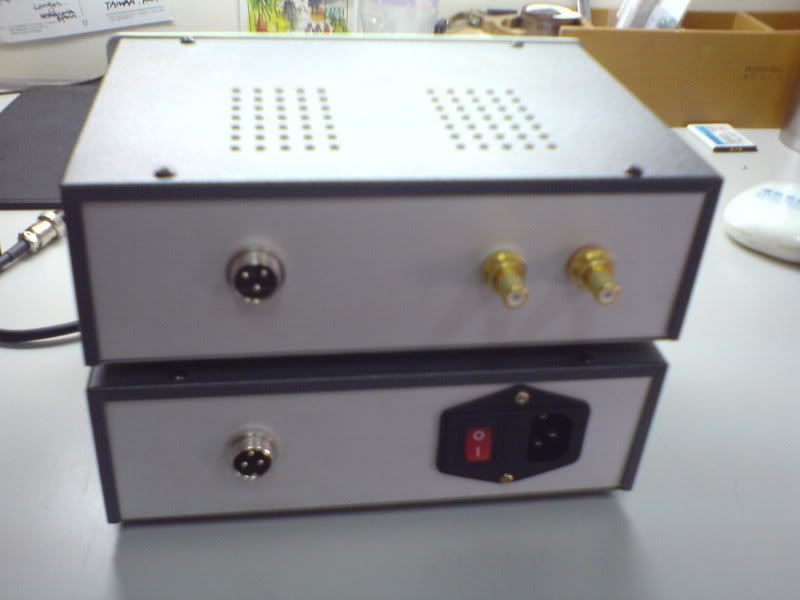
電源連接座是從廣華電子買的
16-3P 3P 16φ銅接頭-母插頭+公插座 x10組/包 $460
一組$46台幣 的便宜貨
不過電流沒那麼大應該也不會差太多吧~